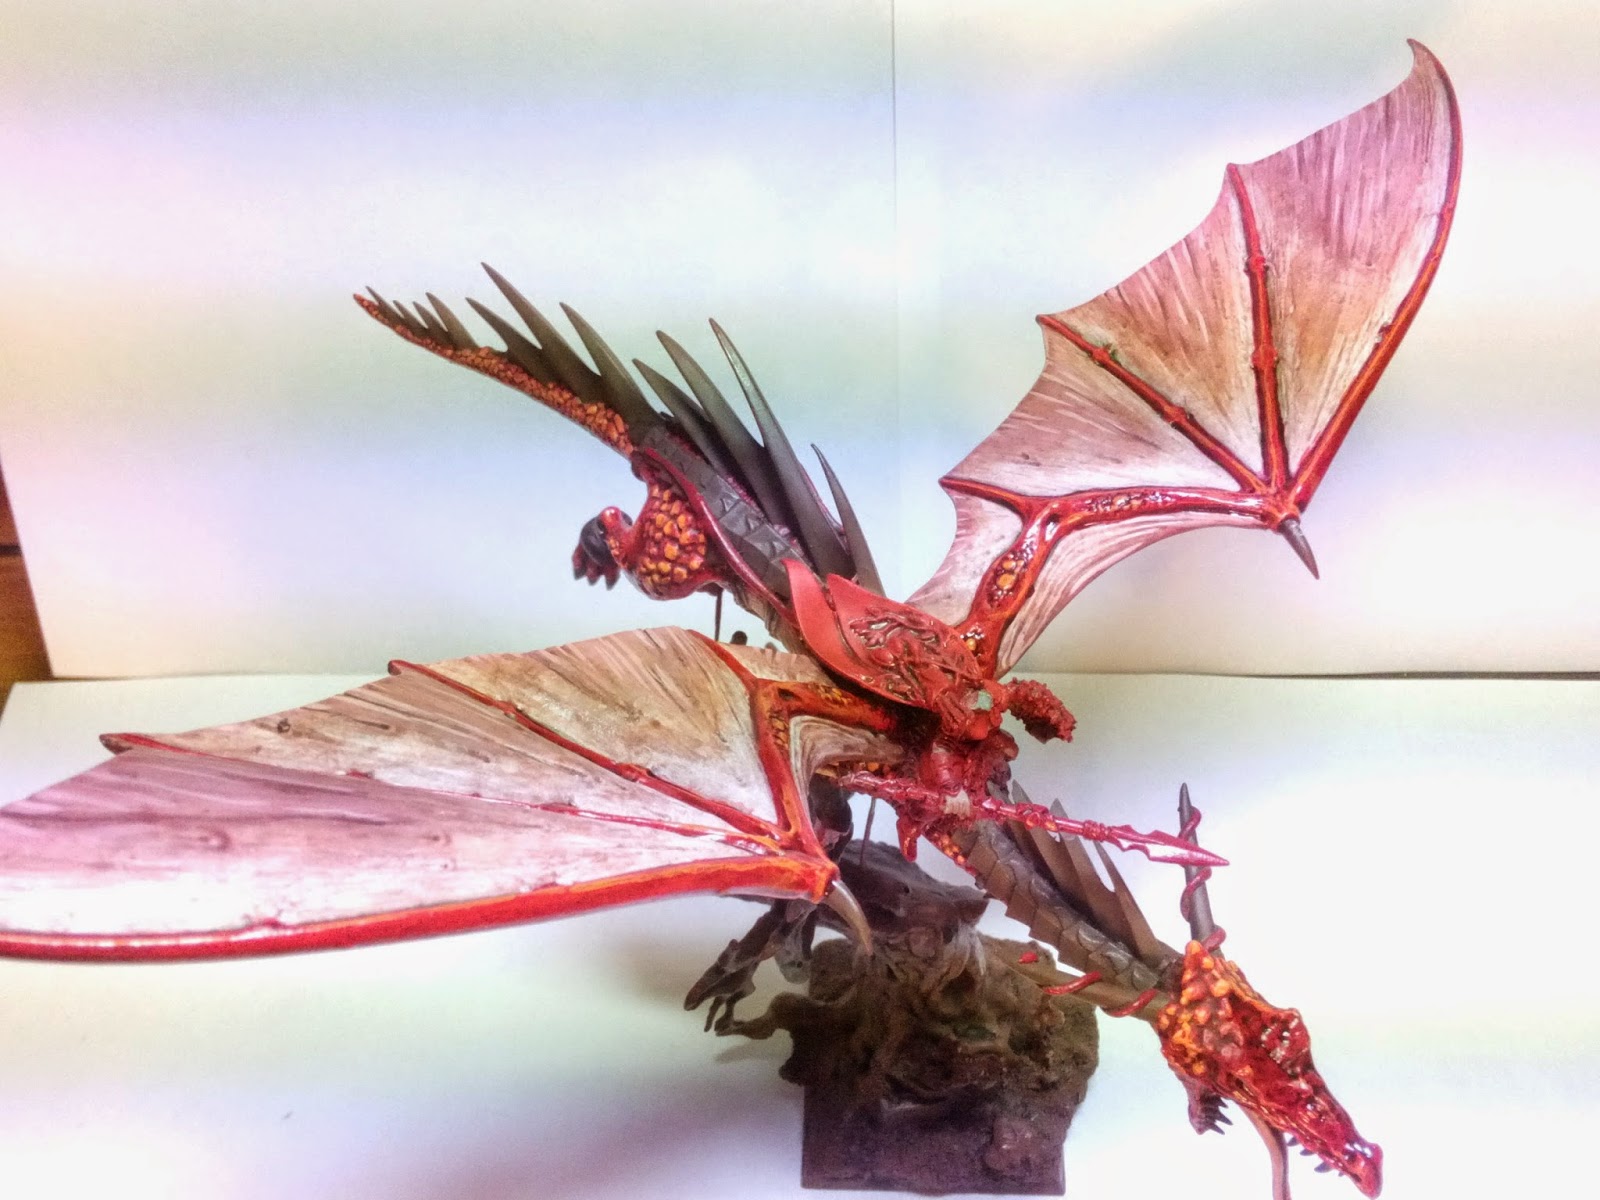
Battle Report Vs High
Elves 2400 Points
Played a friendly game yesterday against Phil using the new
High Elves against my Wood Elves.
Scenario was Battleline. The list
I used wasn’t optimised, there was a bit of fun stuff in it with some daft
choices (Great Weapon on Lord, Potion of Foolhardiness on Wardancer Hero) but
also some useful stuff as well. Anyway,
here it is:
- Spellweaver, Level 4, Lore of Beasts, Moonstone of the
Hidden Ways, Obsidian Amulet, Dispel Scroll
- Highborn, Great Weapon, Light Armour, Bow of Loren, Arcane
Bodkins, Charmed Shield, Dragonbane Gem, Annoyance of Netlings
- Noble, Battle Standard Bearer, Asyendi’s Bane, Hail of Doom
Arrow, Dragonhelm
- Noble, Wardancer, Blades of Loec, Potion of Foolhardiness
- 16 Glade Guard, Full Command, Banner of Eternal Flame
- 10 Glade Guard, Musician
- 10 Glade Guard, Musician
- 10 Glade Guard, Musician
- 8 Dryads
- 8 Dryads
- 8 Dryads
- 8 Wardancers, Musician
- 5 Wardancers, Musician
- Treeman
- Great Eagle
- Great Eagle
Phil’s list was a typical GW staff-member army (in other
words, fairly soft and full of all the new toys). It was basically 3 Island of Blood sets, minus the Griffons, with Alarielle and a couple of Budgies. Here’s the list:
- Alarielle, The Everqueen
- Korhil
- Sea Helm, Reaver Bow, Heavy Armour, Shield (possibly another
item)
- BSB (don’t know what items)
- Mage, Level 1, Ring of Fury, Dispel Scroll
- 5 Reavers, (Musician?)
- 5 Reavers, (Musician?)
- 5 Reavers, (Musician?)
- 29 Sea Guard, Full Command
- 29 Swordmasters, Full Command, Banner of the World Dragon
- Flamesypre Phoenix
- Flamespyre Phoenix
His stated goal was to test out the new High Elf stuff, so I
don’t think he was expecting any degree of competitiveness from his list – just
fun stuff. Overall I think the list was
a pretty good match-up for mine, with only his magic missiles that could really
take out my chaff from range and with only two block units which were easy
enough to redirect or otherwise hold off, but I was worried about his magic and
wasn’t sure about what the Phoenixes might do.
Spells: I ended up
with Wyssan’s Wildform, Pann’s Impenetrable Pelt, Amber Spear and Savage Beast
of Horros. He chose High Magic for both
his mages, Alarielle rolling Drain Magic, Soul Quench, Arcane Unforging and Walk
Between Worlds, and the Lv 1 took Drain Magic.
I won the roll-off for deployment, so started with the chaff, and Phil followed
suit with the Reavers. I deployed fairly
spread-out, with the Treeman and bigger Wardancer unit on my left flank, the
three Dryad units in front, the Glade Guard behind. I put the small unit of Wardancers in the
middle, but realised that there wasn’t really much for them to do in this
game. Character sniping would be a
challenge since the ASF from the High Elves would likely take the teeth out of
their bite before they could do much, and there was little in the way of chaff
for them to go after. The Wardancer
noble went in the Wardancer unit on the flank, and the other characters went in
the big Glade Guard unit, which itself was deployed in the free forest near the
centre.
His deployment was a Phoenix and Reaver unit on each flank,
a Reaver unit in the centre and then Swordmasters and Sea Guard side by side in
the middle, both in horde formation.
Alarielle, Korhil and the BSB went in the SM unit, the Sea Helm and Mage
in the Sea Guard. I’d been able to set
up so that the Treeman and Wardancer unit were on the same side as his Sea
Guard, figuring that the Sea Guard would be easier to deal with in combat than
the Swordmasters.
I won the roll of for first turn, so he vanguarded with all
three Reaver units and off we went.
Turn 1
I pushed the three Dryad units forwards, and moved up with
all of the GG units to get into shooting range of the Phoenixes. The Treeman and Wardancers marched up the
left flank, and the Eagles both flew forwards ready to get in the way when
needed. Magic didn’t do much, but I cast
a Savage Beast of Horros on the machine-gun general (for all the use it would
do this turn...). Shooting took one of
the Phoenixes (the one opposite the Treeman & Wardancers) down to its last
wound, and the Strangle-roots from the Treeman wiped out one of the Reaver
units.
In his turn, the
wounded Phoenix charged the Eagle (which I hadn’t anticipated) so the Eagle
elected to flee. The Phoenix then failed
its attempt to redirect, so charged the eagle needing a 10 on the charge dice, and
caught it. Everything else moved
forwards except the other Phoenix which bravely flew out of shooting
range. Magic and shooting didn’t do much
(taking one of the Dryad units down to one model – but the survivor would come back
to act as a speed-bump later), and on to turn 2.
 |
Part-way through Phil's first turn, measuring up to Soul Quench the Dryads. Notice the brave Phoenix at the back (top-right of pic) and the suicidal Reavers staring in the face of 10 Glade Guard (bottom-right).
|
 |
Brave, brave Swordmasters...
|
 |
... and an extremely courageous Phoenix...
|
Turn 2
 |
This Phoenix was worrying me a bit at the start of Turn 2, since he was staring right at my exposed Spellweaver (the yellow blob in bottom-right of pic). At this point it had only 1 wound left, however, so I was confident I could get rid of it, at least for this turn...
|
The Phoenix that had charged and caught the eagle (which was
now looking right down the flank of the big Glade Guard unit with the
Spellweaver dangerously vulnerable on the corner...) was now a bit more
of a threat, so one of the Glade Guard units turned to be able to shoot
it. The big unit then angled itself to
draw line of sight to the same Phoenix, so that in the event that everything
else failed to kill it then they would have a go, but also would still be able
to shoot the Sea Guard if magic or the small GG unit managed to kill the big
bird. The Treeman moved forwards a bit but made sure to stay in Strangle-roots
range of it. Elsewhere, the Dryads
danced around a bit and the other Eagle moved to block a unit of Reavers that
were threatening the flank of a Glade Guard unit. In the magic phase I cast a bubble Pann’s
Pelt (just in case...), then Amber Spear and the Treeman’s bound Treesinging
both failed to finish off the Phoenix, as did Strangle-roots, meaning a Glade
Guard unit had to shoot it. At point blank
range, they did what the rest couldn’t, and turned it into a pile of ash. Another GG unit cleared out the second Reaver
unit. The rest of the shooting went in
the direction of the Sea Guard and the BSB took his chance to launch the Hail
of Doom at them as well, overall taking the unit down by a bit more than a
third. With no combats to resolve the end of turn came. When it came to the Phoenix’s resurrection
roll, he rolled a 1 meaning it was completely dead and wasn’t coming back to
bother me.
In his turn, the other Phoenix charged a Dryad unit and the
Reavers charged the eagle that was in their way. Soul Quench took out the small Wardancer unit and
the Reaver Bow chipped a wound off the Treeman.
In combat, the Dryads took two wounds off the Phoenix for two wounds in
return, so lost combat but held on a roll of 6.
The eagle took a wound for one kill in return, broke and fled, but escaped
the Reavers with a double-6.
Turn 3
With a Phoenix down and two Reaver units gone, I was able to
turn most of the shooting onto the Sea Guard and march the Treeman and
Wardancers up to threaten the same unit. The eagle rallied on the board edge to block the approaching Reavers again. One of the GG units then tried to
swift-reform to shoot the final Reaver unit but failed the Leadership roll so
were unable to shoot. The machine-gun
general then moved out of his unit so as to be able to shoot at them
instead. Finally the unengaged Dryad unit moved to block the
Swordmasters. Magic was again relatively
ineffective, with the only spell being a Wyssan’s Wildform on the Dryads facing
the SM. Shooting continued to go in the
direction of the Sea Guard, thinning them out quite a bit further although not
as well as the turn previously. The
machine gun lord took out three of the four surviving Reavers. The Dryads in combat with the Phoenix broke
this turn, and were run down leaving the Phoenix free to charge the flank of
the same Glade Guard unit that had failed its swift reform.
In his turn, the last Reaver charged the eagle and the
Phoenix charged the exposed Glade Guard unit.
It was exactly half and half across the line between front and flank, so
we rolled a dice and the 4+ came up in his favour, giving him the flank and
denying the Stand & Shoot. The
Swordmasters charged the Dryads in front of them, and the Sea Guard reformed
and shuffled backwards a bit to pull them away from the approaching
Treeman/Wardancer tag-team. In the magic
phase, he successfully cast Walk Between Worlds on the Sea Guard to get them
out of dodge but not wanting my prey to escape, I used my Dispel Scroll on
it. He then surprised me by using
Alarielle’s magic staff to try to cast the spell again – this time he didn’t
roll as highly, so I threw my dispel dice at it and stopped it
again. Shooting from the Sea Guard
killed a couple of Wardancers. All three combats were won by the High Elves,
with the Phoenix killing several GG with its attacks and Thunderstomp,
so the unit broke, fled and was run down.
The eagle took no wounds, but missed both attacks so lost by one and
also broke and fled. This time, however,
the Reaver got him. Korhil rinsed
through the Dryads without even breaking a sweat, and the Swordmasters were
revealed to be carrying the BoTWD protecting them against the remaining Dryads’
attacks (EDIT: a comment from Phil regarding said banner; "I'd like to point out that the 6 rolls I made with a 2+ save I failed 3!"). The SM then finished them off,
freeing them up for an overrun.
Turn 4
The Treeman and Wardancers were 12” and 13” respectively
away from the Sea Guard, so after a minute of indecision I elected to march
them 10” forwards to Strangle-roots the SG (now down to 15 models plus Sea Helm
and Mage) and charge the survivors next turn. With one
Glade Guard unit down, another swift reformed to shoot the Phoenix while the big
unit and remaining small one lined up to shoot the Swordmasters. The machine gun lord was still hanging around
behind them to shoot the last Reaver. In retrospect, I should’ve left the
Reaver to the GG and put the Lord back in the bunker unit ready to be
Moonstoned away, as leaving him out to shoot the Reaver made him vulnerable
later on. Magic was uneventful, but the
shooting finished off the Phoenix and Reaver and Strangle-roots thinned out the
Sea Guard even more, while the big archer unit was now able to turn its
attentions to the SM. At the end
of turn, the Phoenix failed to return from the dead on a roll of a 1 again.
Bad luck for Phil, but I was quietly relieved to be free to concentrate
on the block units which were all that remained, along with his characters.
 |
| The end of my Turn 4, and the Dryad preparing to make a heroic last stand, and the Treeman limbering up to play smash-face. The bully. |
In his turn, he decided to bail the Sea Helm and Mage out of
the greatly-reduced Sea Guard unit, and charged the Swordmasters into the
speed-bump Dryad (the survivor from T1!). He successfully cast Walk Between Worlds on
the Sea Helm, getting him out of dodge to avoid being Strangle-rooted, but
putting him within short range of a Glade Guard unit. The lone Dryad heroically died buying time
for the big unit, which the SM promptly overran into.
 |
The Sea Helm bravely leaves his men to die.
|
 |
| The Wood Elves know what's coming (hint: it's starts with Moon and ends with stone...) Now you see them... |
Turn 5
This turn saw the MG lord moving up to shoot at the Sea Helm and a GG unit moving to draw LoS to the mage now out on his own, meanwhile the WD/Treeman deadly duo charged the last of the Sea Guard. The other unengaged GG unit reformed to shoot the soon-to-be unengaged Swordmasters. Then, it was Moonstone Time (“Can’t touch this!”) – the Spellweaver’s bunker then teleported to the diagonally opposite corner of the board, putting them well out of range of the Swordmasters. Phil's only hope of catching them again now being to double-6 the boosted Walk Between Worlds this turn. The MG-lord fluffed his hit rolls and failed to kill the Sea Helm, meaning the GG unit nearby had to finish the job. A few more shots at the SM killed a couple. In combat the WD decided to play it safe and use the 4+ Ward Save dance, as I reasoned that with 5 Wardancers, a Noble with Potion of Foolhardiness (lolz) and Blades of Loec, plus the Treeman and his thunderstomp, I had more than enough attacks to take out the few remaining Sea Guard. Unsurprisingly, they got crushed between the blades of the WD and the mighty wooden feet of the Treeman for no damage in return.
 |
| ...now you don't. |
His turn saw the Mage try to escape from the Treeman/WD by moving out of their charge arcs, and
he failed to cast the movement spell he needed to get his SM back across the
board, leaving him with nothing else to do this turn.
Turn 6
Since he was out of the charge arcs, the Mage got Strangle-rooted instead (taking 10 hits!). The
Swordmasters got shot a bit but only a couple died, and then there was nothing
else for me to do.
His final turn, he took Alarielle out of the unit and
6-diced a Soul Quench at the MG lord, getting the double-6, doing more than
enough hits to obliterate him. He rolled
an 8 on the miscast chart so survived and that brought the game to a close.
 |
| Ah, there they are over there! End of Turn 6, only a handful of Swordmasters, Alarielle, BSB and Korhil left on the High Elf side. All the Wood Elf chaff and the Wood Elf General are dead. |
Since it was only a friendly, we didn’t bother calculating
VPs exactly since it was clear that I’d won, but we estimated roughly that I’d
scored around 1350 and his successful killing of the general in T6 bumped his
VPs up to about 950-1000. I had a fun
time (it’s always nice to win…) although I think I could’ve prevented the loss
of the general without sacrificing any of the VP gains I made from his being
out on his own which would’ve made for a bigger win to me. There were several things that helped me this
game. Phil said afterwards that
he should’ve gone balls-out and played with three copies of Soul Quench (one
per wizard plus the Ring of Fury) to blast through my chaff, instead of going
for two copies of Drain Magic, and that’s probably a fair point. He also burned Alarielle’s spell-clone staff
too soon. If he’d waited to use it for Walk
Between Worlds on the SM after I’d Moonstoned away (instead of trying to escape
the inevitable with the Sea Guard), he’d probably have managed to get the spell
off as I’d already burned my Scroll. I
think between those two decisions, it definitely swung the outcome in my
favour. Also the relative ease with
which I managed to despatch his Reavers and Big Birds (he was unlucky that both
Phoenixes died permanently on the first attempt to revive them) meant that he
had little in the way of anything that could tie me up for his blocks to get on
top of me.
“Man of the match” has to be the lone Dryad that survived
the Soul Quench blast, only to end up being a speed-bump stopping his SM block
from charging my Spellweaver bunker. If
the Dryad hadn’t survived the magic in T1, the Swordmasters would have caught me in T4 and most likely
won outright.
Dryads for the win.
Cheers to Phil for the game.